To customize the Fastest WordPress Shop Pro theme with ease, Global Setting is an important option. Global Settings is wraps with General settings and Container settings. You’ll find useful and helpful info prompt and trouble-free. So, please read carefully to understand our WordPress WooCommerce theme Fastest WordPress Shop Pro setting.
How to update the site logo and favicon?
First, run your WP Dashboard —> Theme options –> Global Settings —> General Options. In there, you’ll see the Site Logo and a button box named Upload. So, hit that button to create your site logo.
Similarly, to upload the favicon, run your WP Dashboard —> Theme options –> Global Settings —> General Options. In there, you’ll see the favicon and a button box named Upload. So, hit that button to make the favicon.
![]()
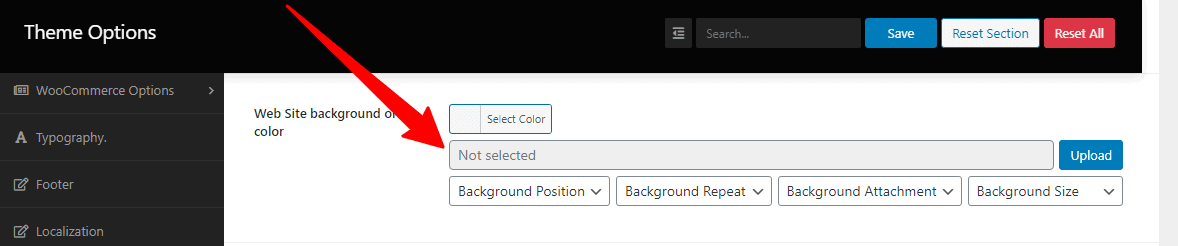
How to set the website background/color?
Go to WP Dashboard —> Theme options –> Global Settings —> General Options. In there, you’ll see the Web Site background or color and few button boxes with some options. So, make changes to the boxes to place the website background/color.
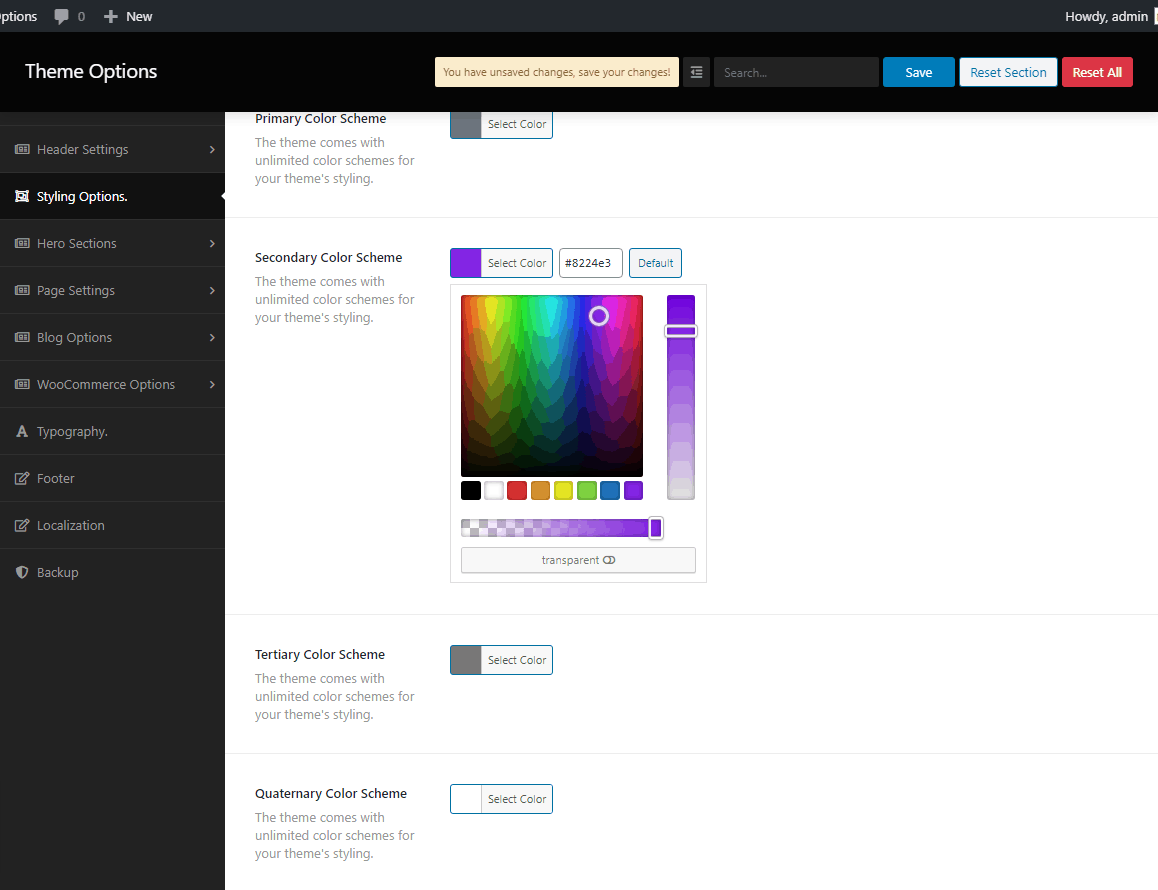
How to set a global color scheme?
To set the global color scheme, you need to go to WP Dashboard —> Theme options –> Styling Options. In there, you’ll see the Primary Color Scheme, Secondary Color Scheme, Tertiary Color Scheme, and Quaternary Color Scheme with their respective options. So choose wisely to make your global color.
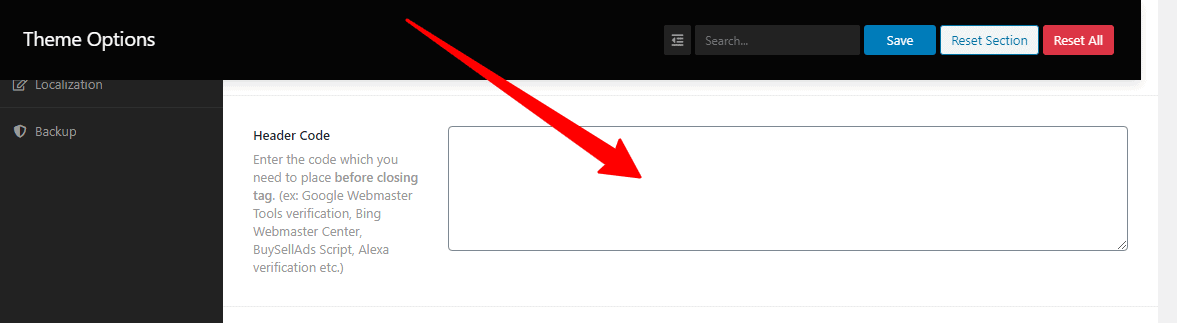
How to enable the Header code?
Go to WP Dashboard —> Theme options –> Global Settings —> General Options. In there, you’ll see the Header code and a blank box with an option. So, write on the blank box to enable your Header code.
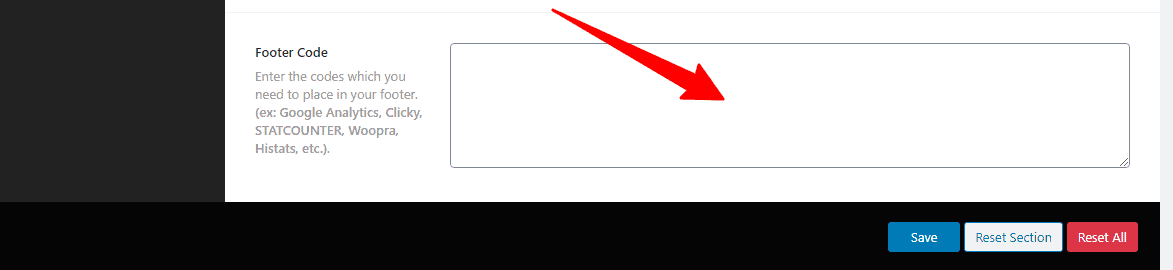
How to enable the Footer Code?
Run your WP Dashboard —> Theme options –> Global Settings —> General Options. In there, you’ll see the Footer code and a blank box with an option. So, write on the blank box to enable your Footer code.
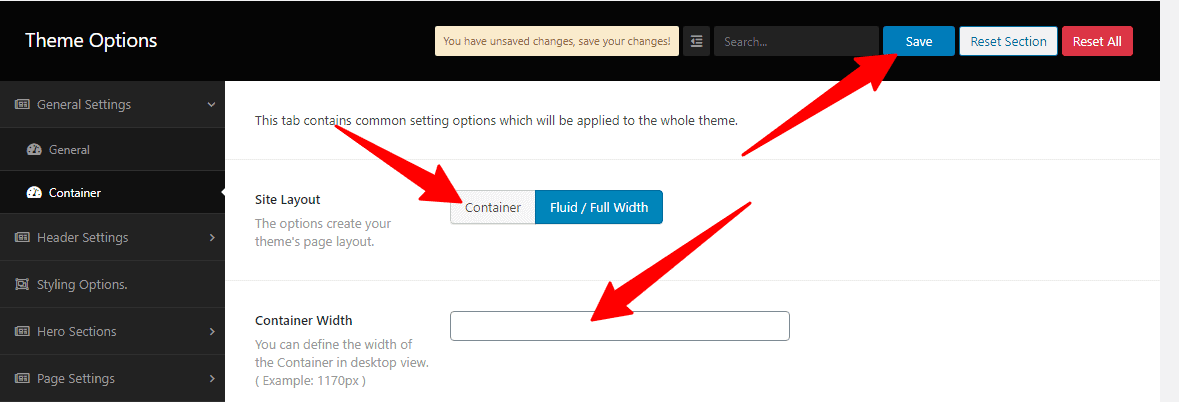
How to create your Site Layout and Container Width?
First, go to your WP Dashboard —> Theme options –> Global Settings —> Container Options. In there, you’ll see the Site Layout with two options. Such as Container and Fluid/Full Width. So, click any one option, then click the save option to create your page layout.
Similarly, to define the width, go to your WP Dashboard —> Theme options –> Global Settings —> Container Options. In there, you’ll see the Container Width and a blank box with an option. So, write on the blank box to define the container width.