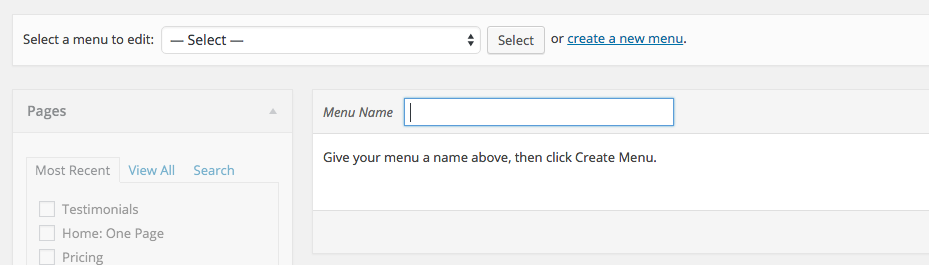
Creating a New Menu
Within your WordPress dashboard, Go on Appearance->Menus. At the top of the page, click the create a new menu link.
Attaching Items to a Menu
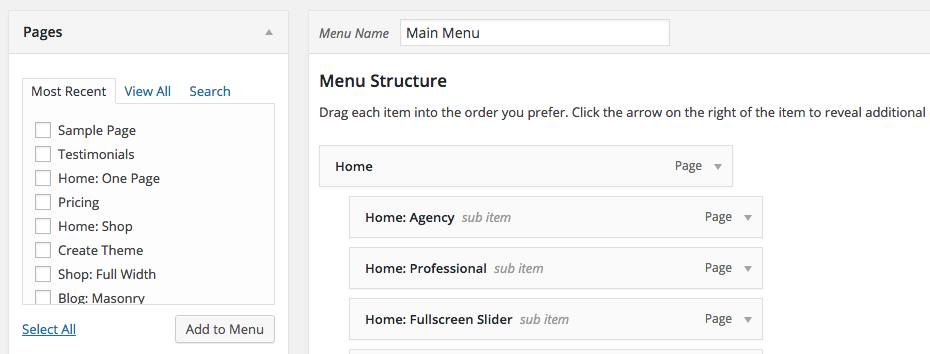
You can add various link types into your menu, these are divided between panes left of the menu you’re currently editing.
- Locate the pane entitled Pages.
- In this pane, select the View All link to bring up a listing of all the recently published Pages on your site.
- Select the Pages that you want to add by clicking the checkbox next to any Page’s title.
- Click the Add to Menu button located at the bottom of this page to add your selection(s) to the menu that you created in the earlier step.
- Click the Save Menu button once you’ve added all the menu items you require.
Your custom menu has now been saved.
Note: The Screen Options tab in the above right enables you to add additional item types to menus.
Assessing Your Menu to Locations
The plan has four menu Theme Locations that you can assign a menu to.
- Scroll to the bottom of the menu editor window.
- In the section titled Theme locations, tick the checkbox for the location where you wish to appear the menu.
- Click the Save menu once you’ve done your selection.
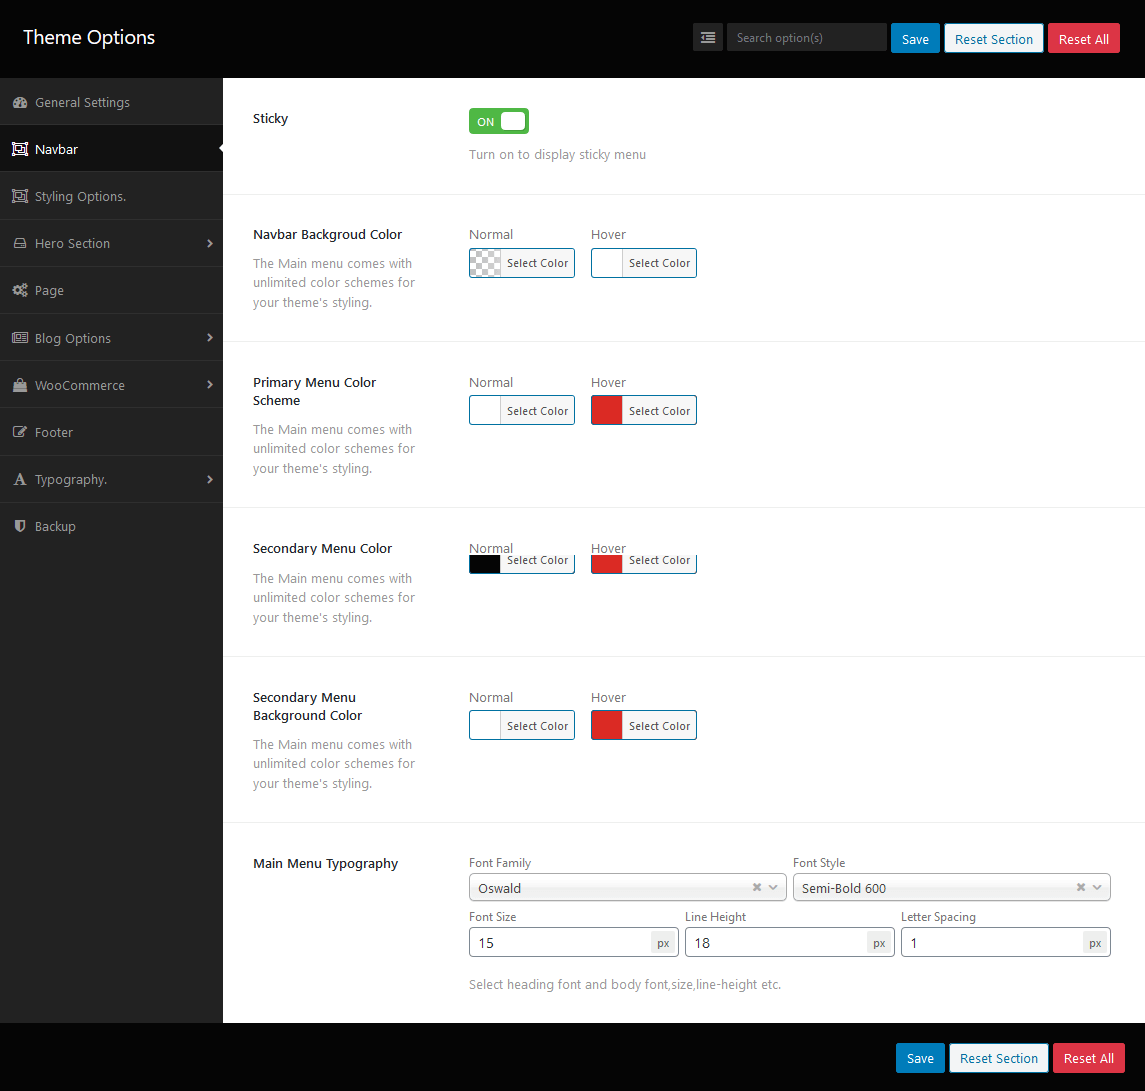
Customize menu
To customize the main menu, please navigate to WordPress dashboard -> theme Options -> Navbar.
Below screen find to update and save the theme options