In the Must-Have Settings, we’ve provided all the essential tools and guidance to help you effortlessly customize your theme and create a unique brand identity for your store website. Take your time to explore and review the Theme Options carefully to ensure a smooth and hassle-free customization experience.
1) How to Upload a Logo and Favicon
To begin, navigate to your WordPress dashboard and click on Theme Options → General Settings. Here, you’ll find an option for Site Logo with an Upload button, as well as Favicon with its own Upload button. Simply click the respective buttons to upload your logo and favicon.
![]()
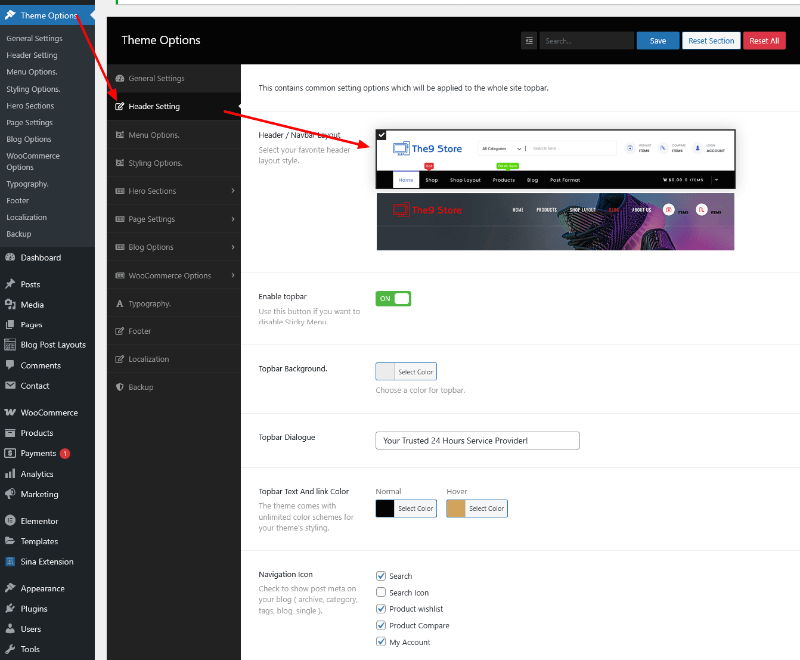
2) How to Change the Header Layout
To change the header layout, navigate to Theme Options → Header Settings. Here, you’ll find the Header Layout options, as shown in the screenshot below. You can customize various settings such as logo alignment, site information, social profiles, and other header elements to suit your needs.
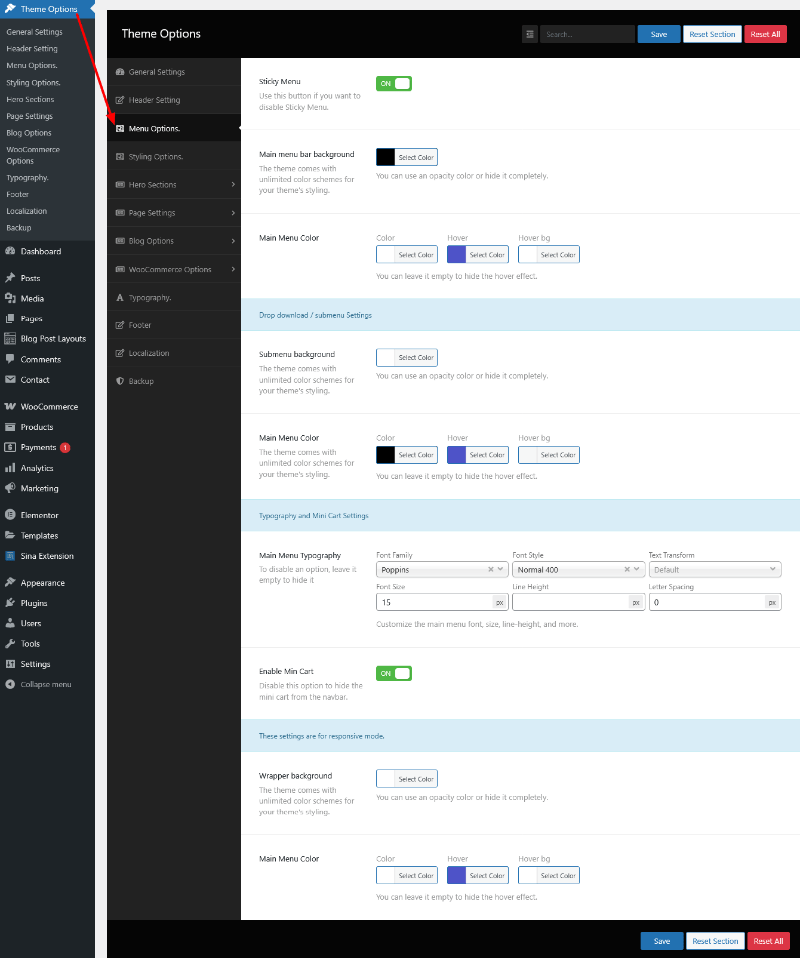
3) How to Customize the Main Menu
Go to Theme Options → Header Settings → Menu Options. Here, you’ll have access to all main menu customization options, including color, typography, styles, and font size, as shown in the screenshot below.
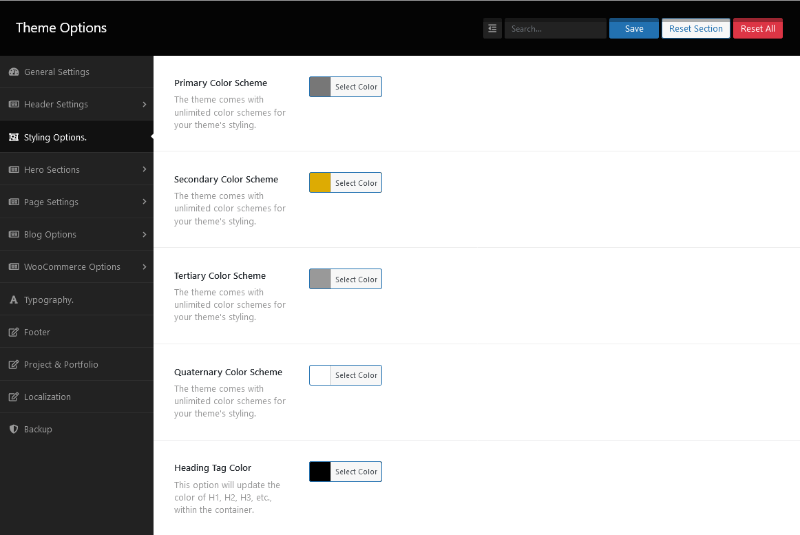
4) How to Customize the Overall Site’s Color Scheme
To change the color scheme of your site, go to Theme Options → Styling Options. Here, you can modify the overall appearance by combining different colors, allowing you to create a unique look and feel for your website.
4) How to Remove the Banner or Hero Section
You can globally remove the banner from posts, pages, and product pages. To hide the banner or adjust its height, background, or color, navigate to Theme Options → Hero Sections → Common Page as shown in the screenshot below.

The above example illustrates some of the theme options available. We hope you’ll be able to navigate the rest through self-guided exploration. If you encounter any issues, please don’t hesitate to reach out to us for assistance.